Embroidery has changed a lot over the years. Today, many brands want designs that look strong and bold. Flat embroidery still looks good, but raised embroidery adds more style and depth. This is why many caps, jackets, and bags use 3D embroidery designs.Many beginners want to learn about Professional 3D Puff Digitizing because it helps create clean and raised embroidery.
This method uses foam under the stitches. The foam lifts the thread and gives the design a bold and high look.In this guide, we will explain how experts create clean and bold 3D embroidery effects. You will learn the tools, steps, and tips used by professional digitizers. These methods come from real embroidery work and industry experience.
What Is 3D Puff Embroidery?
3D puff embroidery is a style that creates raised designs. Instead of flat stitches, the embroidery stands above the fabric.
This raised effect is created by placing foam under the stitches. The machine stitches over the foam. After stitching, the extra foam is removed. The result is a bold and clean design.
This style is very popular in fashion and sportswear.
Where You Usually See Raised Embroidery
3D embroidery is often used on:
- Baseball caps
- Sports team logos
- Brand name hats
- Streetwear clothing
- Promotional items
This style helps designs stand out and look premium.
Why Clean Digitizing Is Important
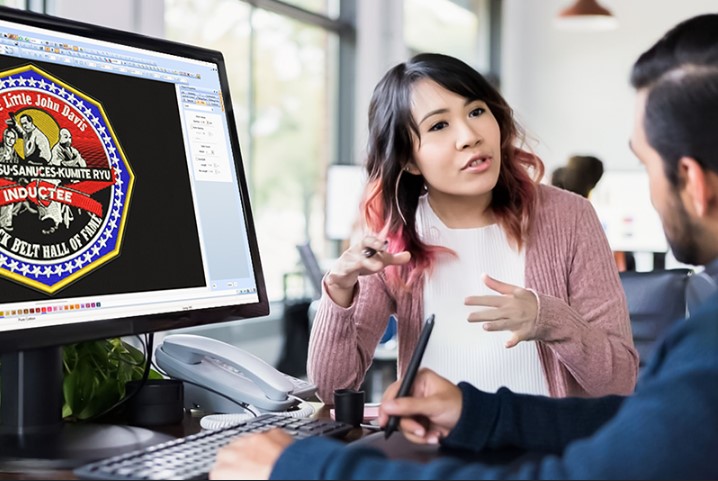
Digitizing is the process of turning artwork into stitch instructions. The embroidery machine follows these instructions to create the design.
For 3D embroidery, digitizing must be done very carefully.
Problems with Poor Digitizing
If the digitizing is not correct, many problems can appear:
- Foam may show outside the stitches
- Letters may collapse
- The design may look uneven
- Threads may break during stitching
Because of this, many embroidery businesses work with experts such as Embroidery Digitizing Services in USA – Digitizing Buddy to prepare their embroidery files.
Tools Experts Use for 3D Embroidery
Professional embroiderers always use the right tools. These tools help produce better and cleaner embroidery.
Essential Equipment
Experts usually use:
- An embroidery machine
- Digitizing software
- Puff foam sheets
- Strong embroidery thread
- Sharp embroidery needles
These tools make the process easier and more accurate.
Importance of Good Software
Digitizing software helps control the stitch path and density. It also helps designers preview how the embroidery will look before stitching.
Popular embroidery software allows users to adjust:
- Stitch types
- Stitch width
- Stitch direction
- Design size
These features help create clean embroidery results.
Choosing the Right Design for Raised Embroidery
Not every design works well for 3D embroidery.
Experts always choose designs that support the raised effect.
Best Designs for 3D Embroidery
The following designs work best:
- Bold text
- Thick letters
- Simple shapes
- Large logos
These designs allow foam to lift the stitches properly.
Designs to Avoid
Very detailed designs may not work well.
Avoid designs with:
- Very thin lines
- Small text
- Complex patterns
These details may sink into the foam and lose the raised look.
Preparing the Artwork
Before digitizing starts, experts prepare the artwork.
Clean artwork makes digitizing much easier.
Steps to Prepare Artwork
Experts usually follow these steps:
- Remove tiny details
- Increase letter thickness
- Simplify shapes
- Focus on bold elements
This preparation helps the design stitch cleanly.
Step-by-Step Process Experts Use
Now let us look at how experts create raised embroidery designs step by step.
Step 1: Import the Artwork
First, the design is opened in digitizing software.
This allows the digitizer to start creating stitch paths.
Step 2: Choose Satin Stitch
Satin stitch is the most common stitch used for puff embroidery.
It creates smooth and wide stitches that cover foam properly.
Step 3: Adjust Stitch Width
Wide stitches are important for puff embroidery.
They help cover the foam completely and prevent gaps.
Step 4: Set the Stitch Density
Density controls how close the stitches are placed.
Experts balance density carefully.
Too many stitches can crush the foam.
Too few stitches can expose the foam.
Step 5: Add Underlay Stitches
Underlay stitches support the main stitches.
They help stabilize the foam and fabric.
This step keeps the design strong and neat.
Step 6: Place the Foam
Before stitching begins, foam is placed on the fabric.
The embroidery machine stitches over the foam.
The needle cuts the foam edges while stitching.
Step 7: Remove Extra Foam
After stitching finishes, the extra foam is removed.
This reveals the bold raised design.
Best Fabrics for Puff Embroidery
Fabric choice is also very important.
Some fabrics hold stitches better than others.
Ideal Fabric Types
Experts often use:
- Cap fabric
- Cotton twill
- Denim
- Thick canvas
These fabrics support raised stitches well.
Fabrics That May Cause Problems
Very thin or stretchy fabrics may not work well.
Examples include:
- Silk
- Light knit fabric
- Stretch jersey
These fabrics may cause the design to sink.
Tips Experts Use for Perfect Results
Professional embroiderers follow several small tricks that improve quality.
These tips come from years of embroidery experience.
Use Quality Foam
Good foam creates a better raised effect.
Low-quality foam may break or flatten.
Use Strong Thread
Strong embroidery thread holds the stitches firmly.
Weak thread may break during stitching.
Always Test Stitch
Experts never skip the test stitch.
Test stitching helps confirm:
- Design quality
- Stitch alignment
- Foam coverage
This small step prevents production errors.
Common Mistakes Beginners Make
Many beginners try puff embroidery without proper preparation.
This can lead to poor results.
Thin Lettering
Thin letters cannot cover foam well.
This causes foam to show outside the design.
Too Much Stitch Density
Very tight stitches can crush the foam.
This removes the raised effect.
Poor Machine Setup
Incorrect tension or needle type can damage the design.
These issues can affect stitch quality.
Because of these challenges, many embroidery shops rely on professional services like Embroidery Digitizing Services in USA – Digitizing Buddy for reliable embroidery files.
Why Professional Digitizers Achieve Better Results
Professional digitizers have years of experience.
They understand how stitches behave on different fabrics.
What Experts Focus On
Experienced digitizers carefully adjust:
- Stitch angles
- Stitch length
- Foam coverage
- Design structure
These adjustments make the design stitch smoothly.
Businesses that want high-quality embroidery often choose Embroidery Digitizing Services in USA – Digitizing Buddy because their experts create files that work perfectly with embroidery machines.
Machine Care for Better Embroidery
Even the best design needs a well-maintained machine.
Machine care improves stitch quality and reduces problems.
Basic Maintenance Tips
Follow these simple steps:
- Clean the bobbin area often
- Remove lint from the machine
- Replace dull needles
- Use high-quality thread
These small habits improve embroidery results.
Practice Helps Improve Skills
Embroidery is a skill that improves with practice.
Even experts started as beginners.
Practice Projects
Beginners can practice with simple designs such as:
- Initial letters
- Basic shapes
- Small logos
These projects help build confidence.
With time, your digitizing and embroidery skills will improve.
Final Thoughts
Creating clean and bold 3D embroidery effects requires the right tools, proper digitizing, and careful stitching. The raised embroidery style is popular because it adds depth, texture, and a strong visual impact.
Experts focus on bold designs, proper stitch settings, and quality materials to achieve professional results. They also run test stitches and maintain their machines to ensure smooth embroidery.
While beginners can learn these techniques with practice, professional digitizing services can make the process much easier and more reliable. With the right knowledge and experience, anyone can create raised embroidery designs that look clean, bold, and professional.
Embroidery is both a creative craft and a technical skill. As you continue learning and practicing, your designs will become stronger and more impressive.